Alita – Home Page
To setup Home Page You have to install require plugins included: Elementor Website Builder and TemPlaza Elements.

The Home Page uses different Elementor widgets.
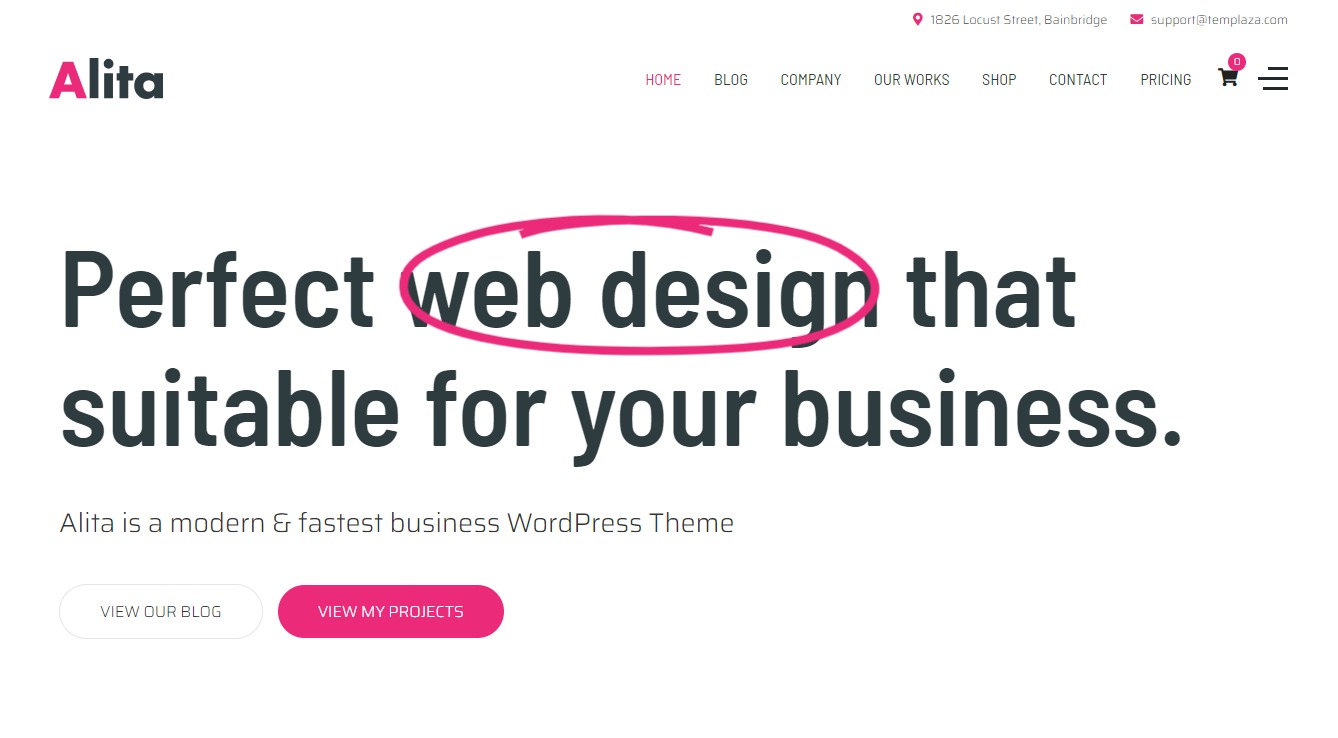
View the homepage layout view on frontend:
Steps to Create the Home demo menu items
The Main Home page on the demo site uses TemPlaza: Heading, UI Text, UI Button, UI Card, Testimonials, UI Image, UI Post, UI Marker & Counter widgets to display the Content.
Here is a guide to create Home Page:
Step 1: Create a template site
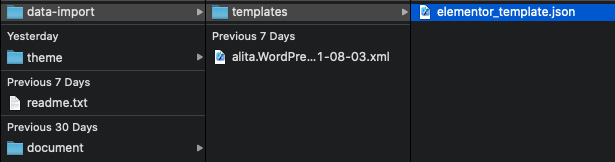
- Go to unzipped folder -> data-import -> templates -> home_page.json
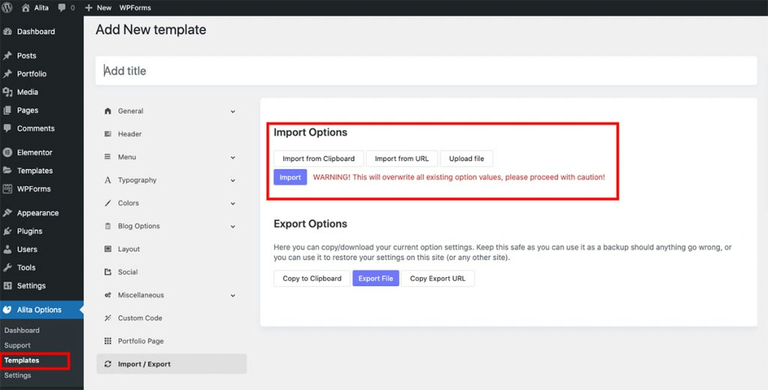
- Go to wp-admin -> Alita Options -> Templates -> Click “Add New” -> Import / Export
- Insert Template title -> Click Publish
Choose import file to import file
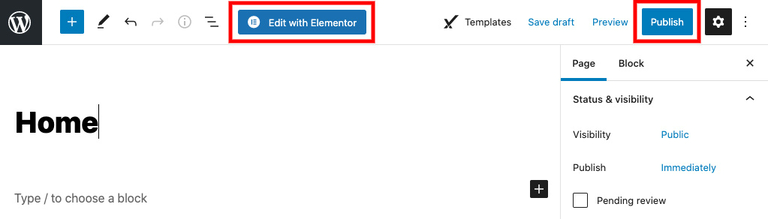
Step 2: Create a new page
Go to wp-admin -> Pages -> Add New Page -> Edit with Elementor -> Publish
Step 3: Configure Elementor widgets
Home Page uses TemPlaza: Heading, UI Text, UI Button, UI Card, Testimonials, UI Image, UI Post, UI Marker & Counter widgets.
1.Heading section
Heading section uses TemPlaza: Heading, Text and UI Button
1.1. TemPlaza: Heading Widget

Add title, highlight and after highlight text. Configure heading style and highlight effect.
1.2. Text Widget
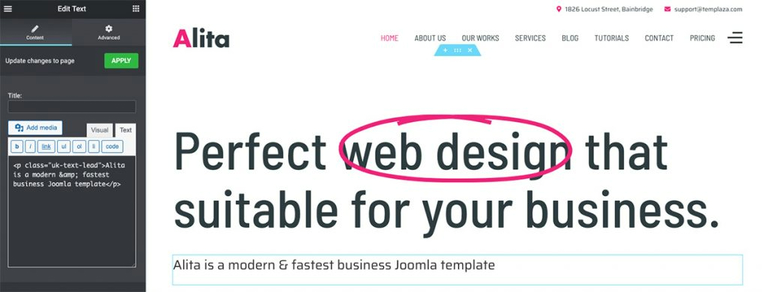
Add text widget with class=”uk-text-lead”
1.3. TemPlaza: UI Button
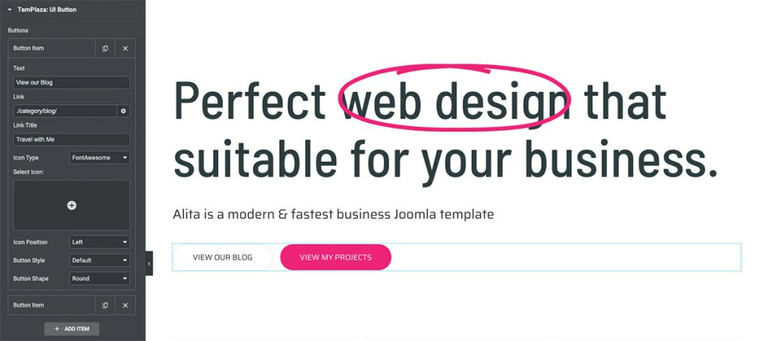
Enter your text and link -> configure button style and shape
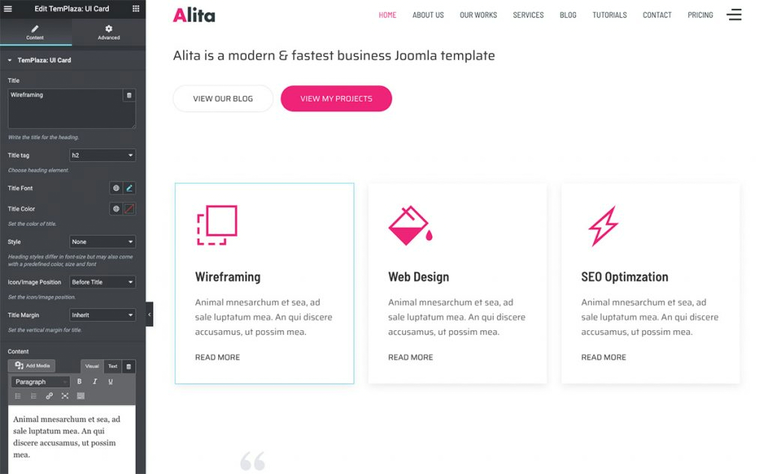
2.Feature Box
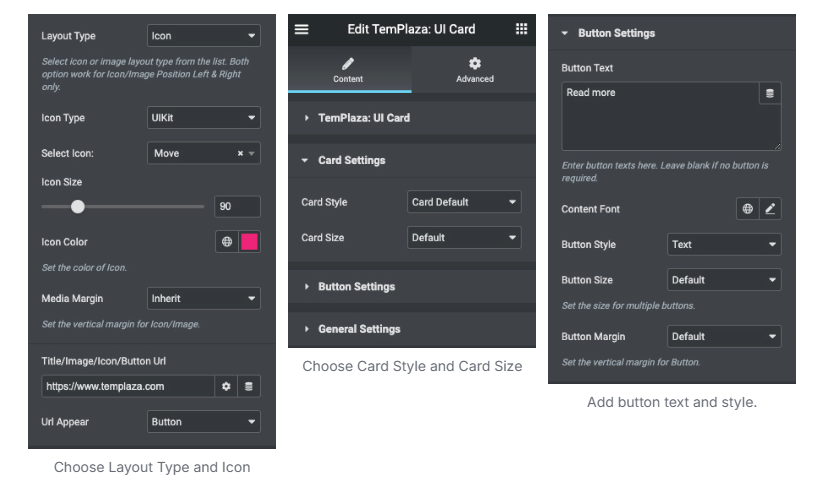
Add a section with 3 columns -> Drag ‘n drop TemPlaza UI Card Widget.
Extra settings
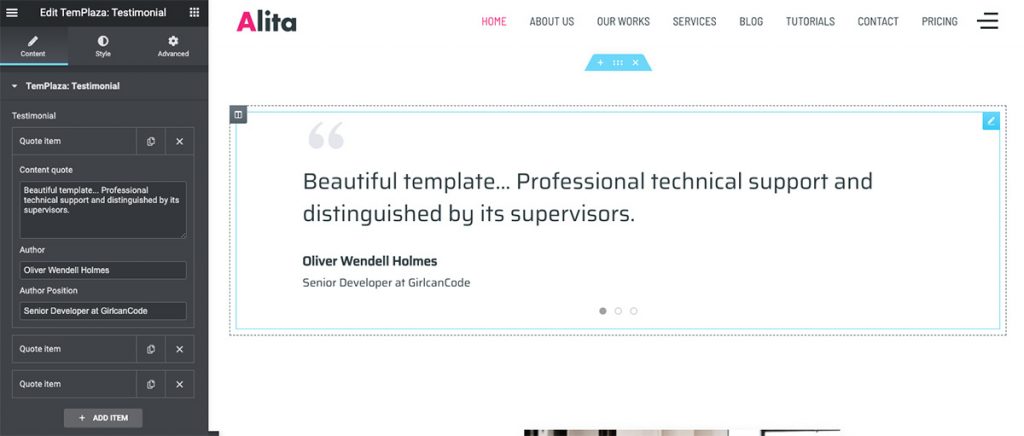
3.Testimonials
4.About Company
About Company section uses TemPlaza: UI Text, UI Image and UI Button
4.1. TemPlaza: UI Text
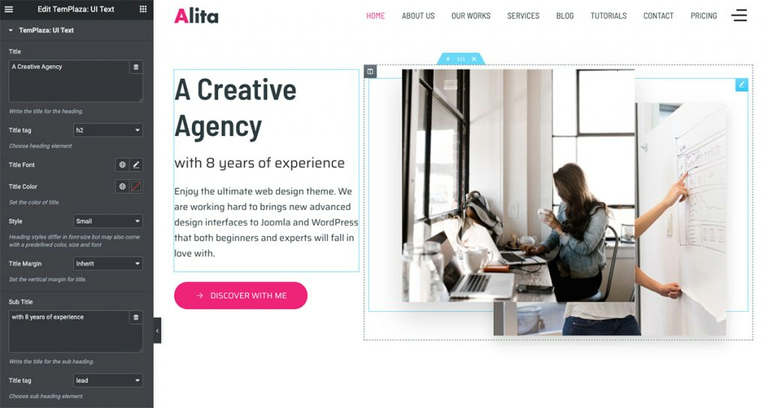
Enter your title, sub title and content.
4.2. TemPlaza: UI Button
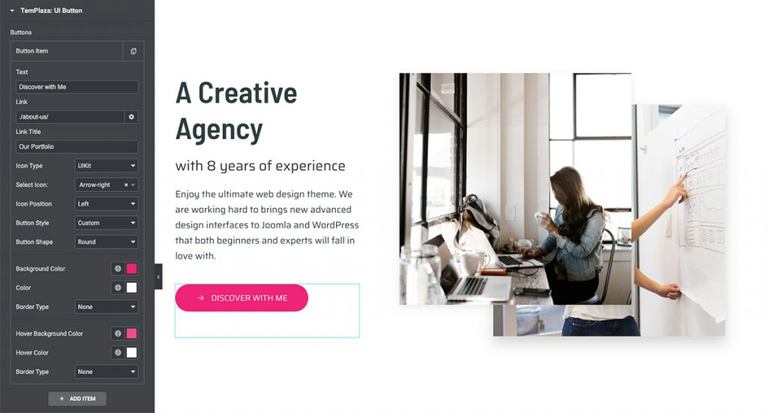
Enter your button text, link, icon and color.
4.3. TemPlaza: UI Image
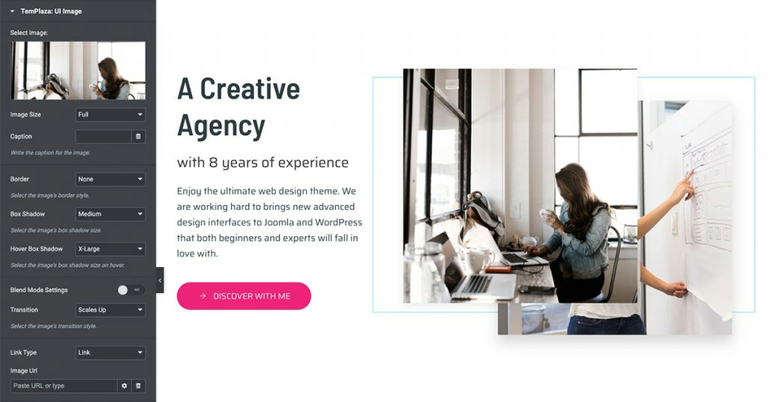
Select your image. Configure image size and animation.
5.Counter Section
Add a section with 4 columns -> Drag ‘n drop Counter Widget.
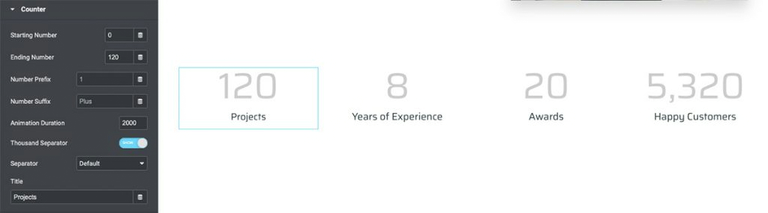
Enter starting number and ending number.
6.Portfolio Section
Portfolio section uses TemPlaza: UI Text and UI Post
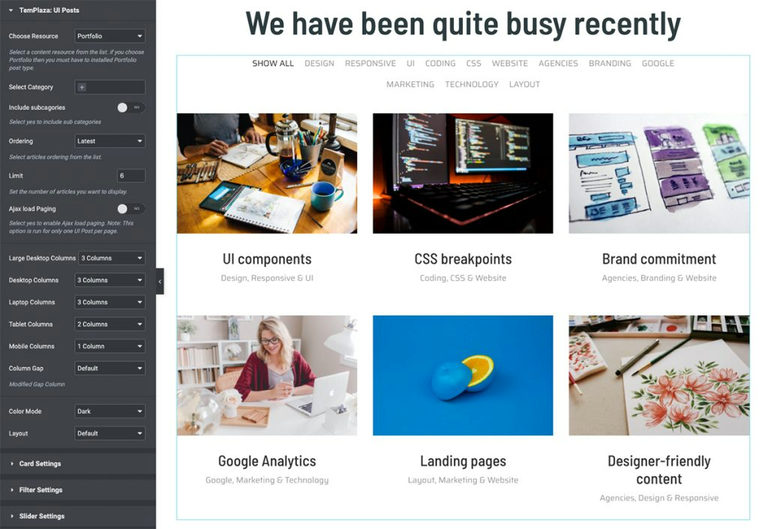
Choose Resource: Portfolio. Select a category or leave it blank. Configure limit and Responsive columns
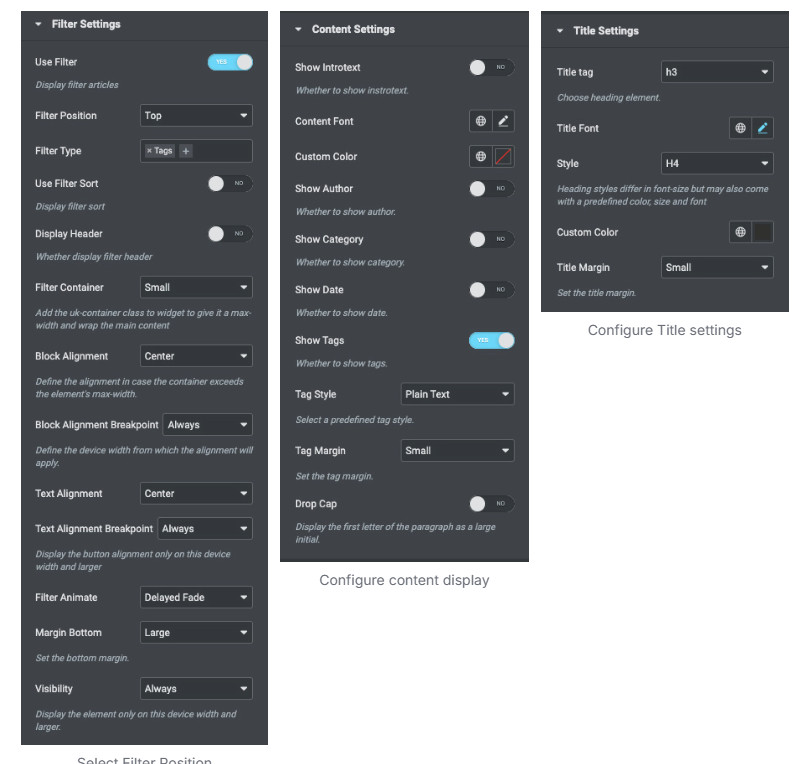
Extra settings
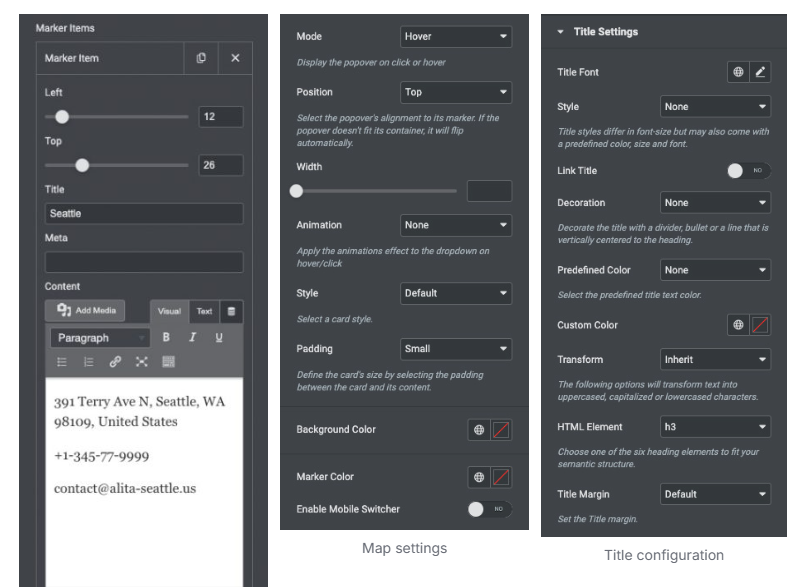
7.Marker Section
The marker section uses TemPlaza: UI Text and UI Marker
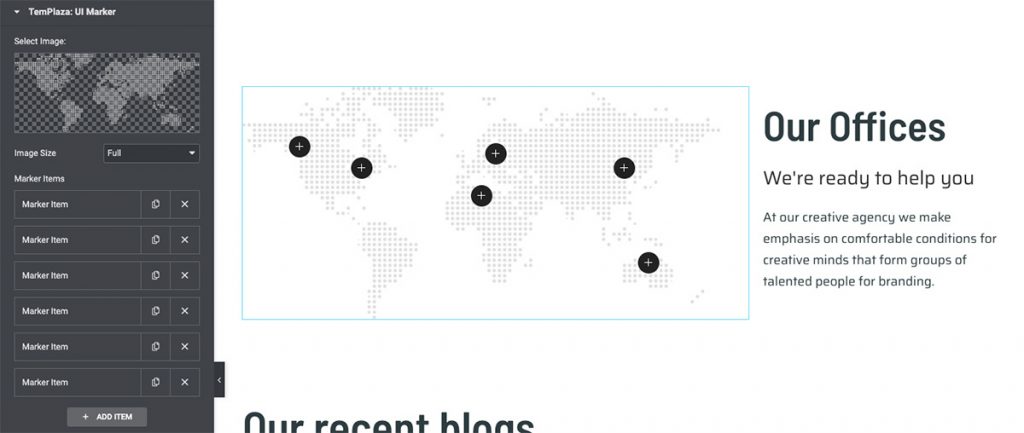
Add maker items and configure them
8.Blog Section
Blog section uses TemPlaza: UI Text and UI Post
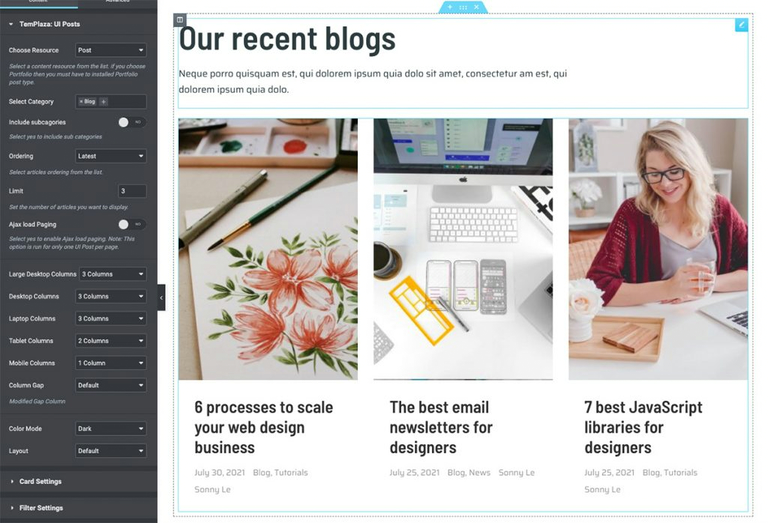
Choose Resource is Post, Select your category, Limit and Responsive Columns