Alita – Contact
To setup Contact Page You have to install require plugins included: Elementor Website Builder, Contact Form by WPForms and TemPlaza Elements.

The Contact Page uses different Elementor widgets.
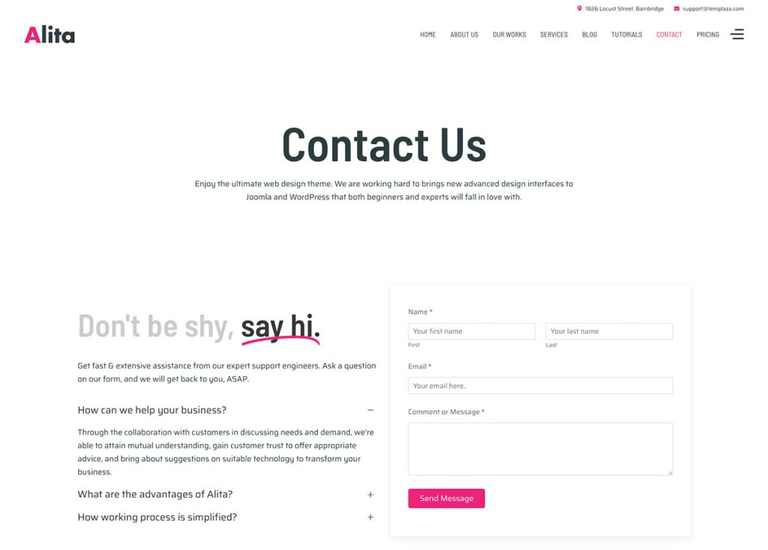
View Contact Page layout view on frontend:
Steps to Create the Contact Demo Menu Items
The Contact page on the demo site uses TemPlaza: Heading, UI Text, UI Accordion, UI Card, UI Marker, and WP Form widgets to display the Content.
Here is a guide to creating Contact Page:
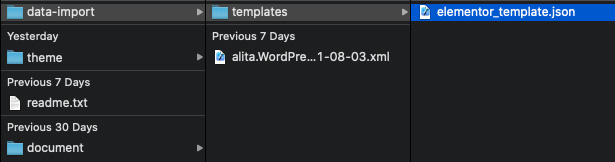
Step 1: Create a template site
- Go to unzipped folder -> data-import -> templates -> elementor_template.json
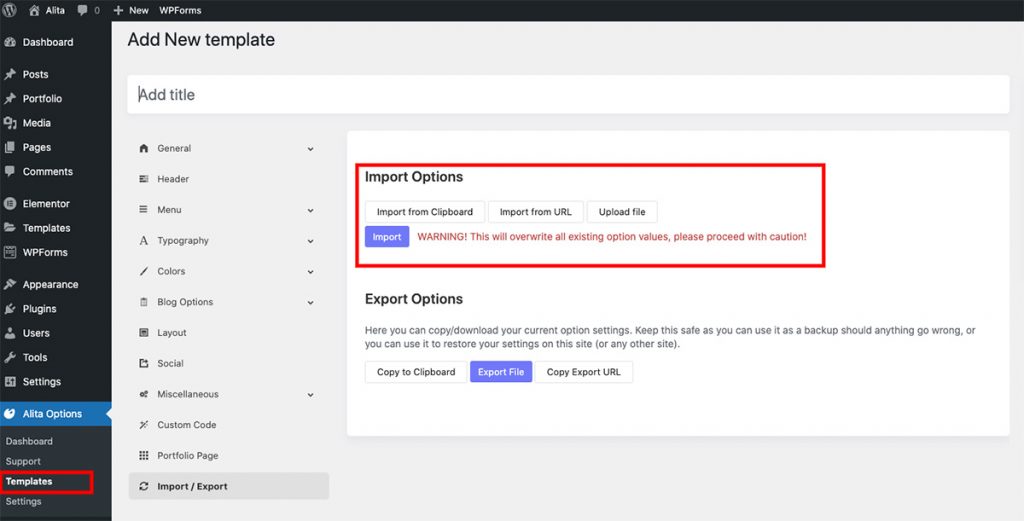
- Go to wp-admin -> Alita Options -> Templates -> Click “Add New” -> Import / Export
- Insert Template title -> Click Publish
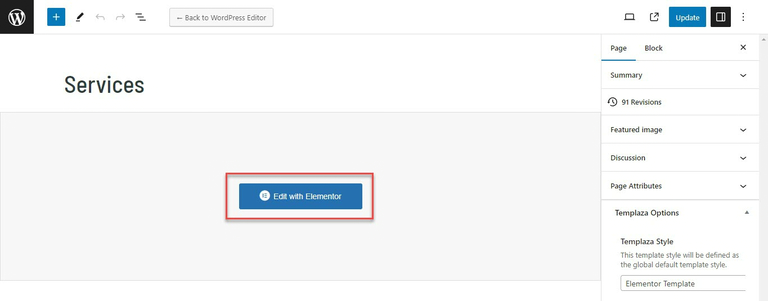
Step 2: Create a new page
Go to wp-admin -> Pages -> Add New Page -> Edit with Elementor -> Publish
Step 3: Configure Elementor widgets
Contact Page uses TemPlaza: Heading, UI Text, UI Accordion, UI Card, UI Marker, WP Form widgets.
1.Heading section
The heading section uses TemPlaza: UI Text
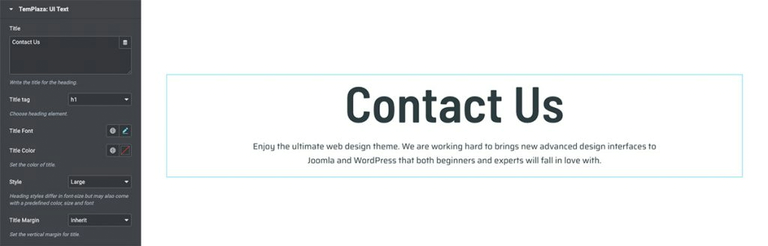
Add title and content. Configure heading style “Large” and title tag “h1”.
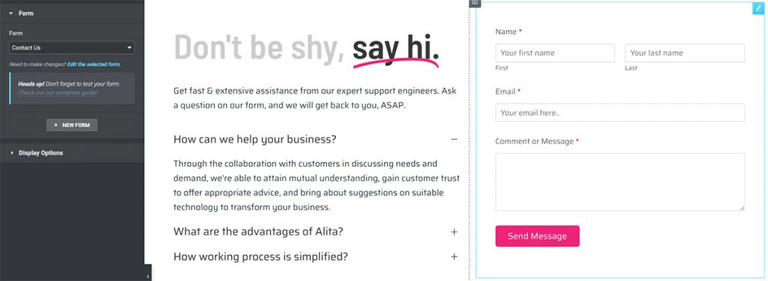
2.Contact Form Section
Add section with 2 columns. Contact Form section uses TemPlaza: Heading, UI Text, UI Accordion and WPForm
2.1. TemPlaza: Heading
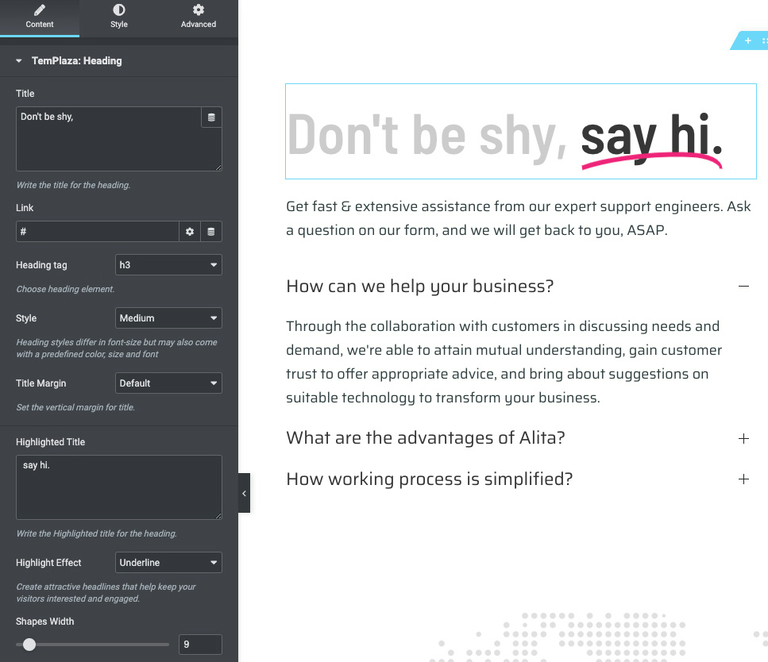
Enter title and highlight title. Configure Heading Style
2.2. TemPlaza UI Text
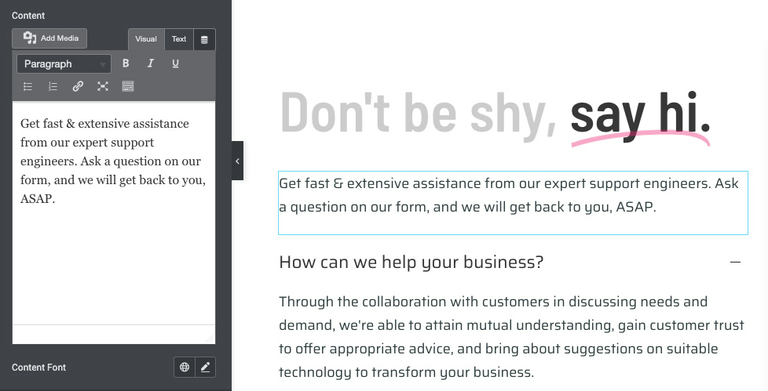
Use UI Text widget to add text content.
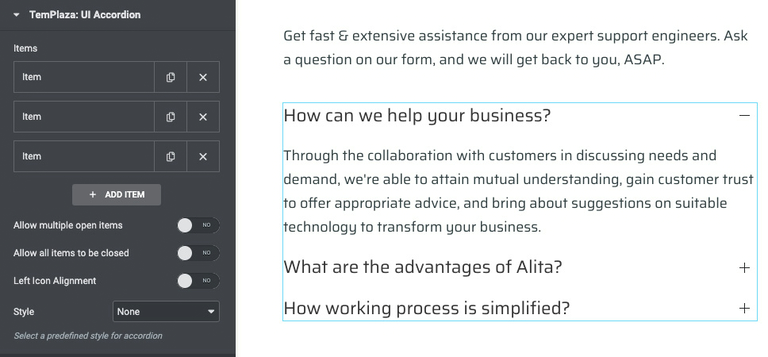
2.3. TemPlaza: UI Accordion
2.4. TemPlaza: WPForms
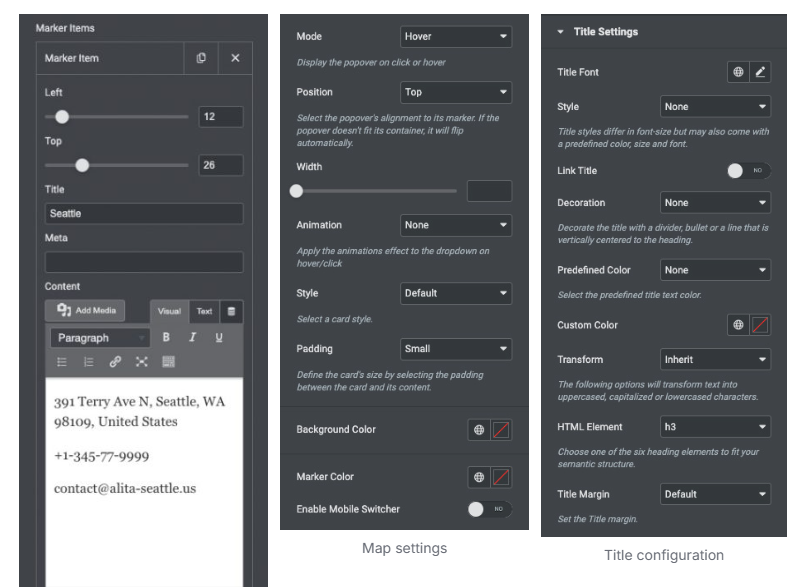
3.Marker Section
Marker section uses TemPlaza: UI Marker
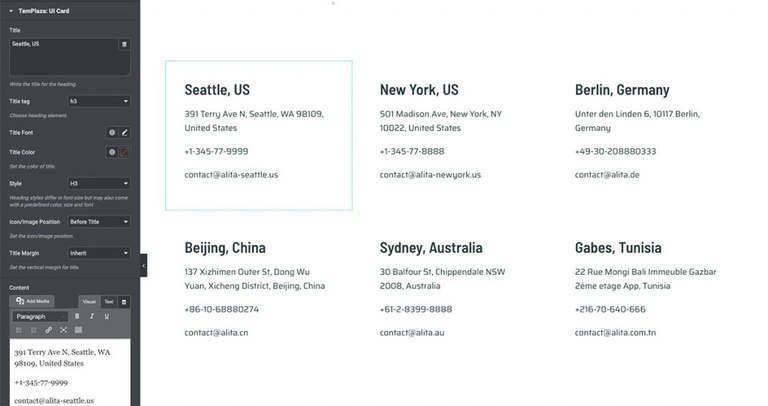
4.Contact Information Section
The contact information section uses TemPlaza: UI Card