Blog Columns
Create a new blog page
Step 1 - Log in to your WordPress Administration Panel (Dashboard).
Step 2 - Click on Pages > Add New.
Step 3 - Give your page a name then Change the Editor to Backend Editor ( you need to have the Elementor plugin activated ).
Step 4 - Click on the Edit with Elementor button
Step 5 - Select the WordPress widget.
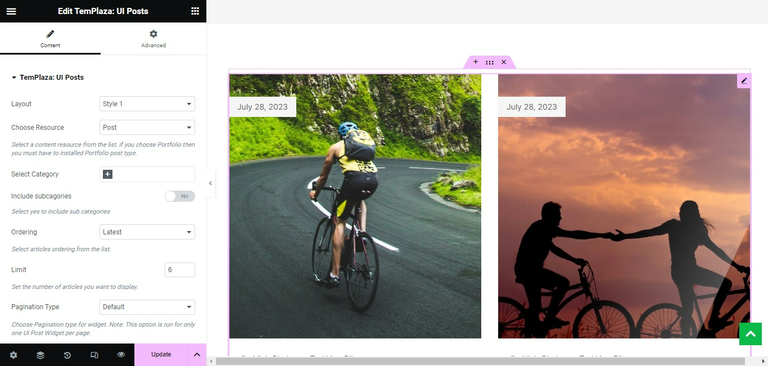
In our demo, we used UI Posts widget to display blog posts.
Blog Columns

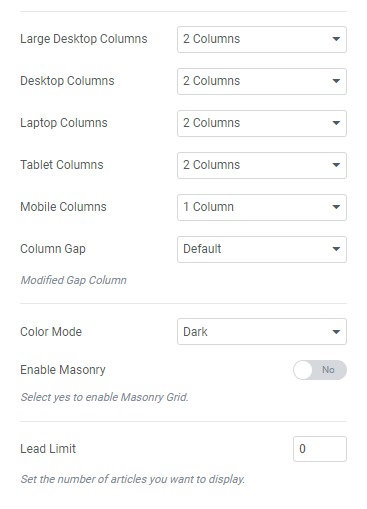
By configuring UI Posts, you can see options to adjust the number of columns on different devices (Large desktop, desktop, laptop, tablet, and mobile phone).

Blog Column Collapse
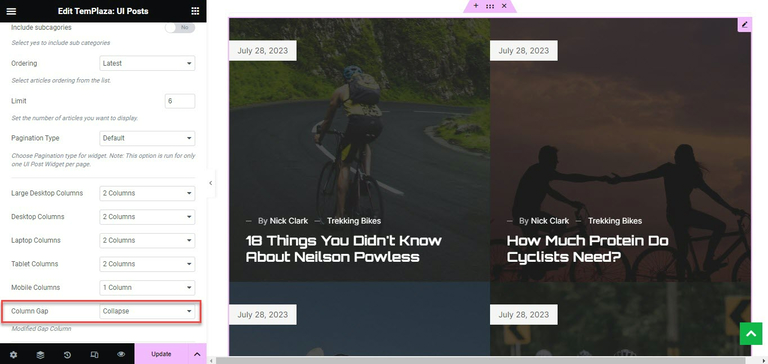
If you're interested in the blog collapse style, you're supposed to choose the Column gap with "Collapse" option.

Blog Column Grid
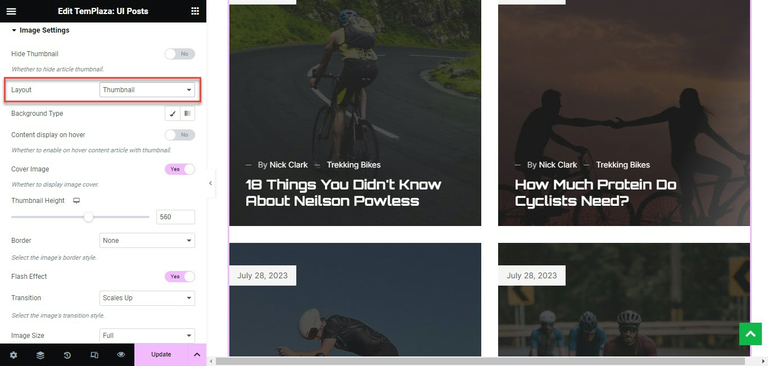
To enable the column grid mode, you should scroll down to the Image Setting section of UI Posts, and choose a layout "Thumbnail".
